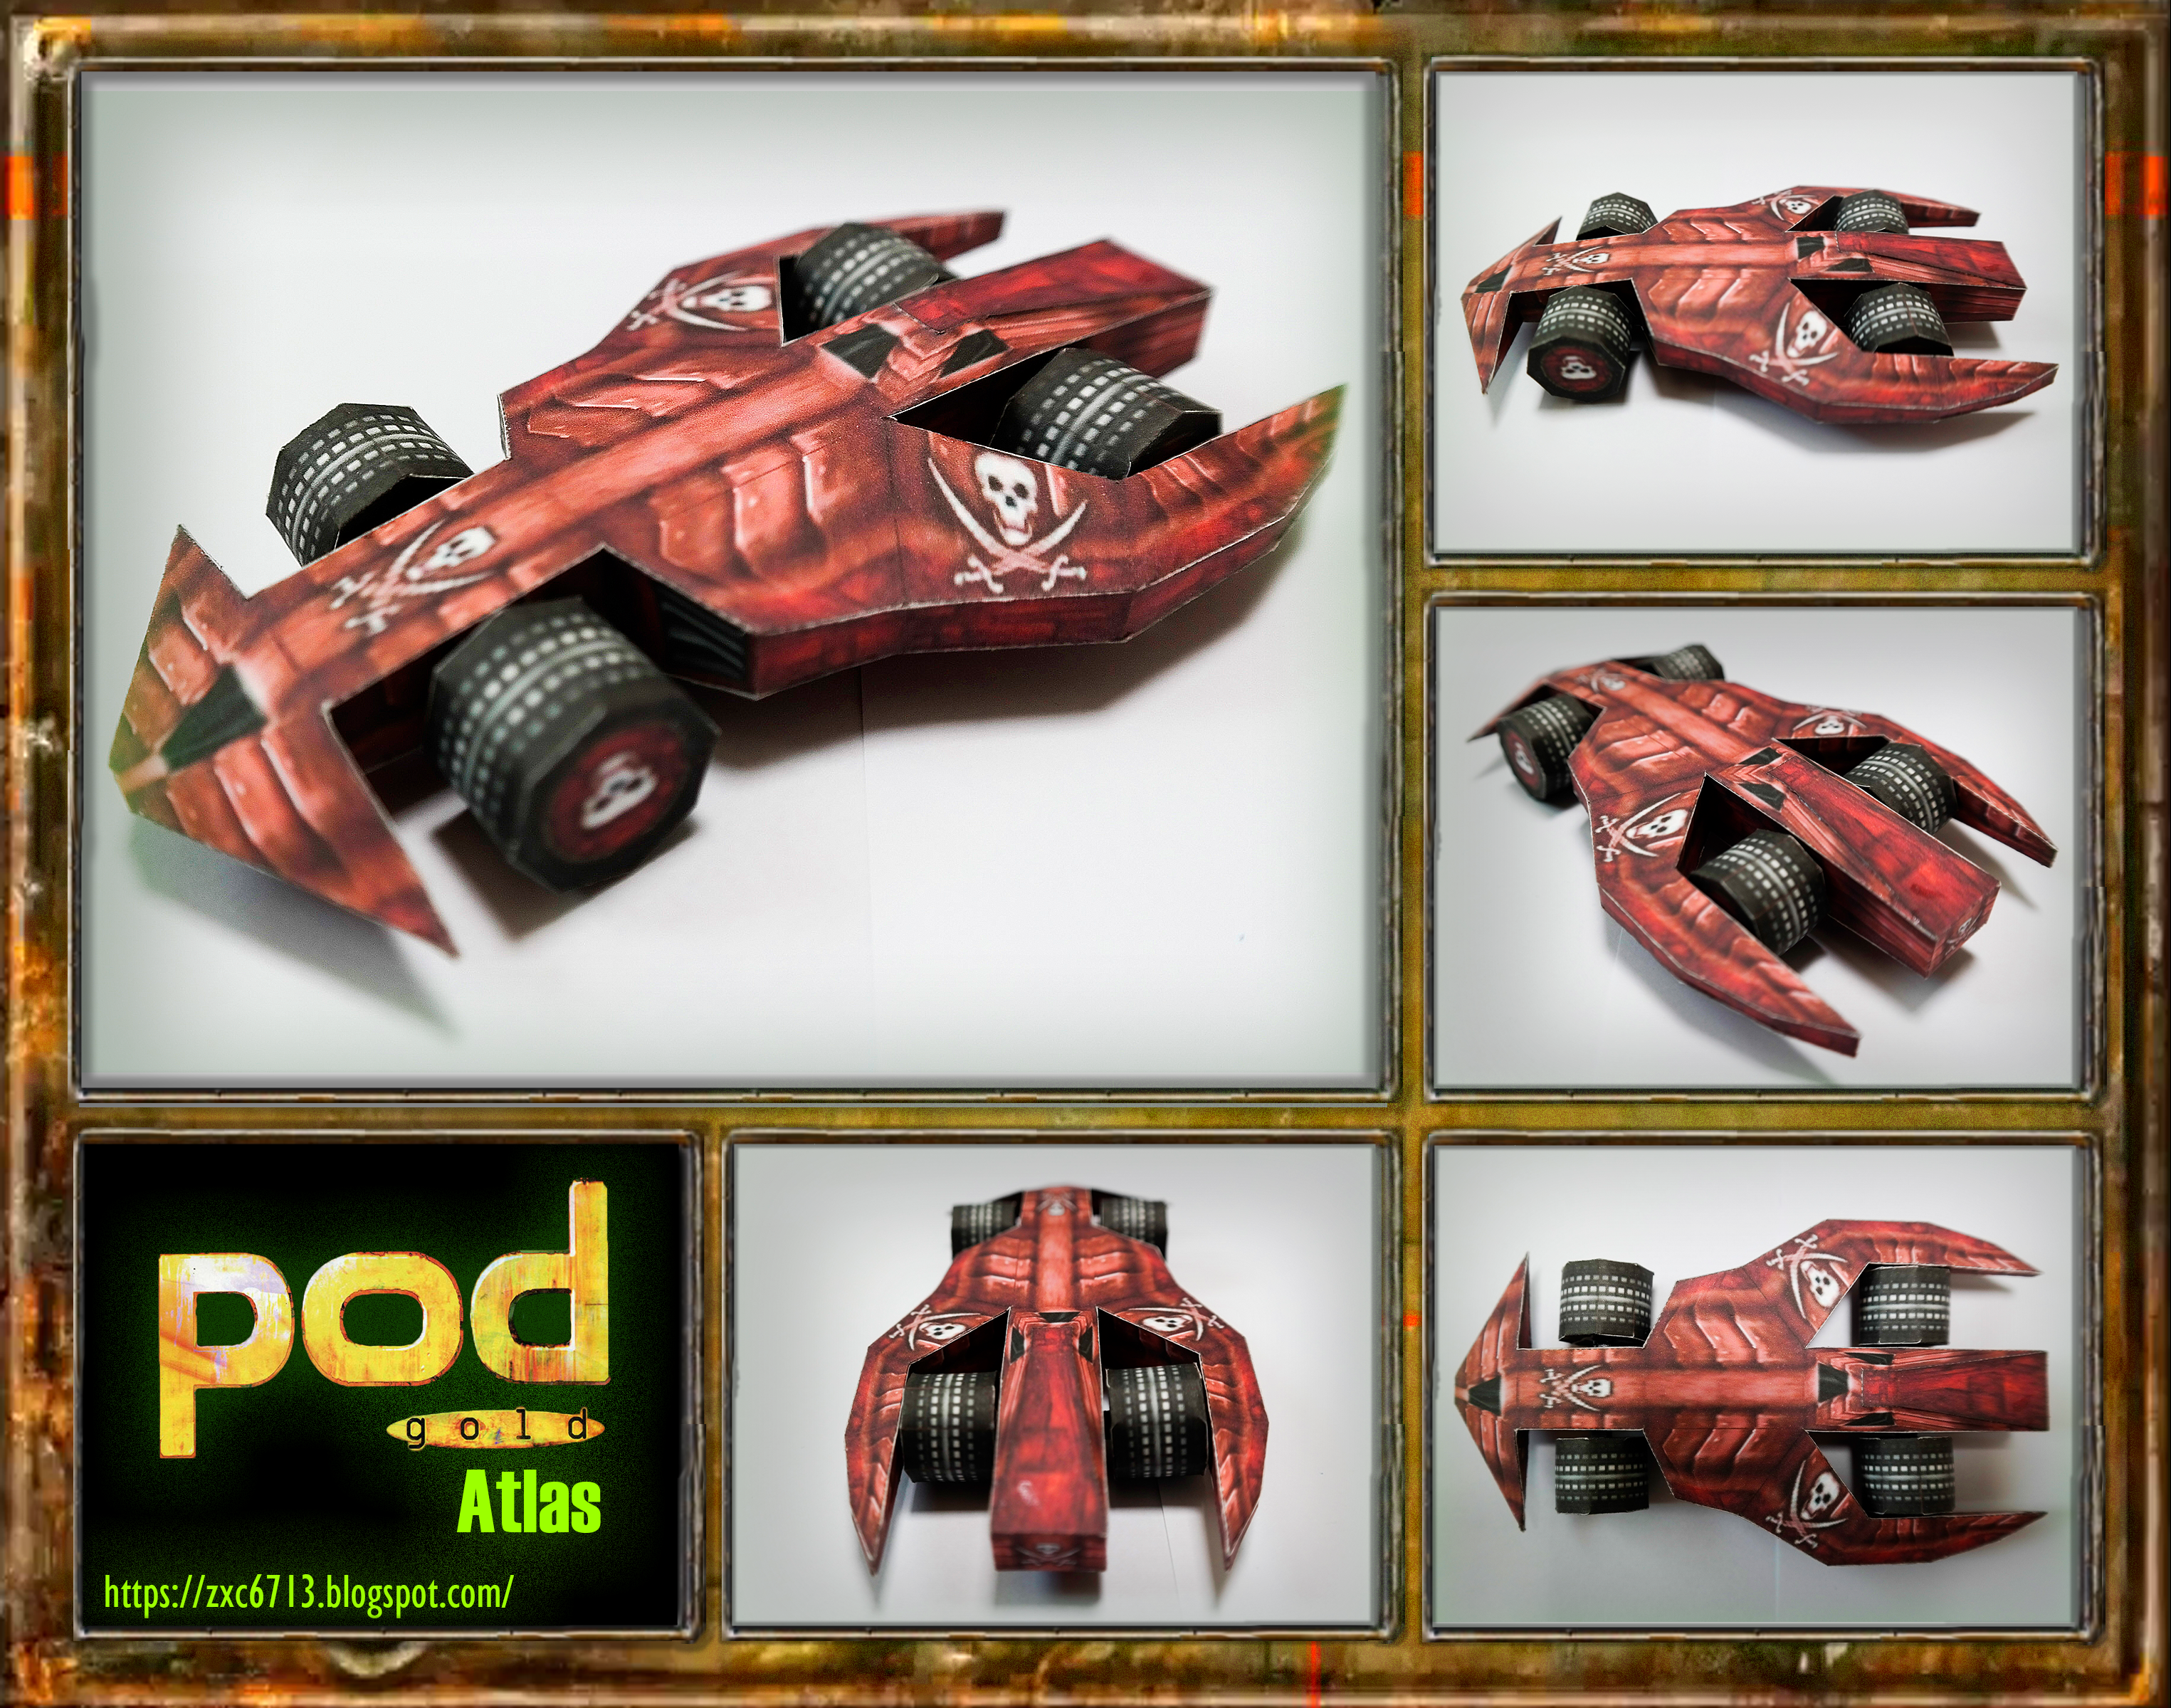
Pod Gold - Jaero
Original author - UbiSoft
Papercraft creator - zxc6713
Type - Arcade, Extra
Difficulty - Vary hard
Pages - 2
Pieces - 16
Length - 124mm
Width - 83mm
Depth - 46mm
Caution - This model is made by ripping in the game. I'll delete the post if the original author wants.
There is no manual for this piece, instead it is built from a PDO file. This has many advantages over the manual because you can see the part you want in different directions on the 3D screen. The pdo file must be opened using a programme called Pepakura Viewer (which is definitely not a virus programme!).
The underside of the vehicle is the last part of the body to be built, and it's important to glue it down carefully as it can get warped out of shape during the process. A tip is to glue the largest area of the front and back glued surfaces with woodworking glue, and to glue the glued surfaces carefully one by one rather than all at once. When working on this part, I recommend using woodworking glue rather than instant glue as it allows for some modification after application.
If you look closely at the photo, you can see the part that connects the wheels to the body. Unfortunately, due to my lack of skills, I didn't show you where to glue it. So be sure to refer to the Pepakura viewer closely when gluing.
Occasionally, the bottom will be dented and the pair of wheels will be orientated inwards. If this happens, you can either stuff the inside with something like wadding, or when gluing the wheels and their supports, use the bottom of a desk or other surface as a guide, rather than the bottom of the vehicle. To prevent the parts from falling apart under the weight, you can support a small object such as a coin or die on the bottom of the piece and wait for the glue to dry. However, this can be a bit of a challenge and is not recommended.
If you have trouble seeing the dotted lines, please refer to the PDO file or the white version of the drawing!
This piece is particularly prone to warping compared to other pieces, so be careful when making it. If warping occurs, you can strengthen it to a certain extent by cutting the surface with a knife, especially at the bottom of the part or the part that is hidden by other parts, such as the wheels, and then gluing it after aligning it so that it does not warp. Be careful, it can be dangerous to use a knife!


댓글
댓글 쓰기