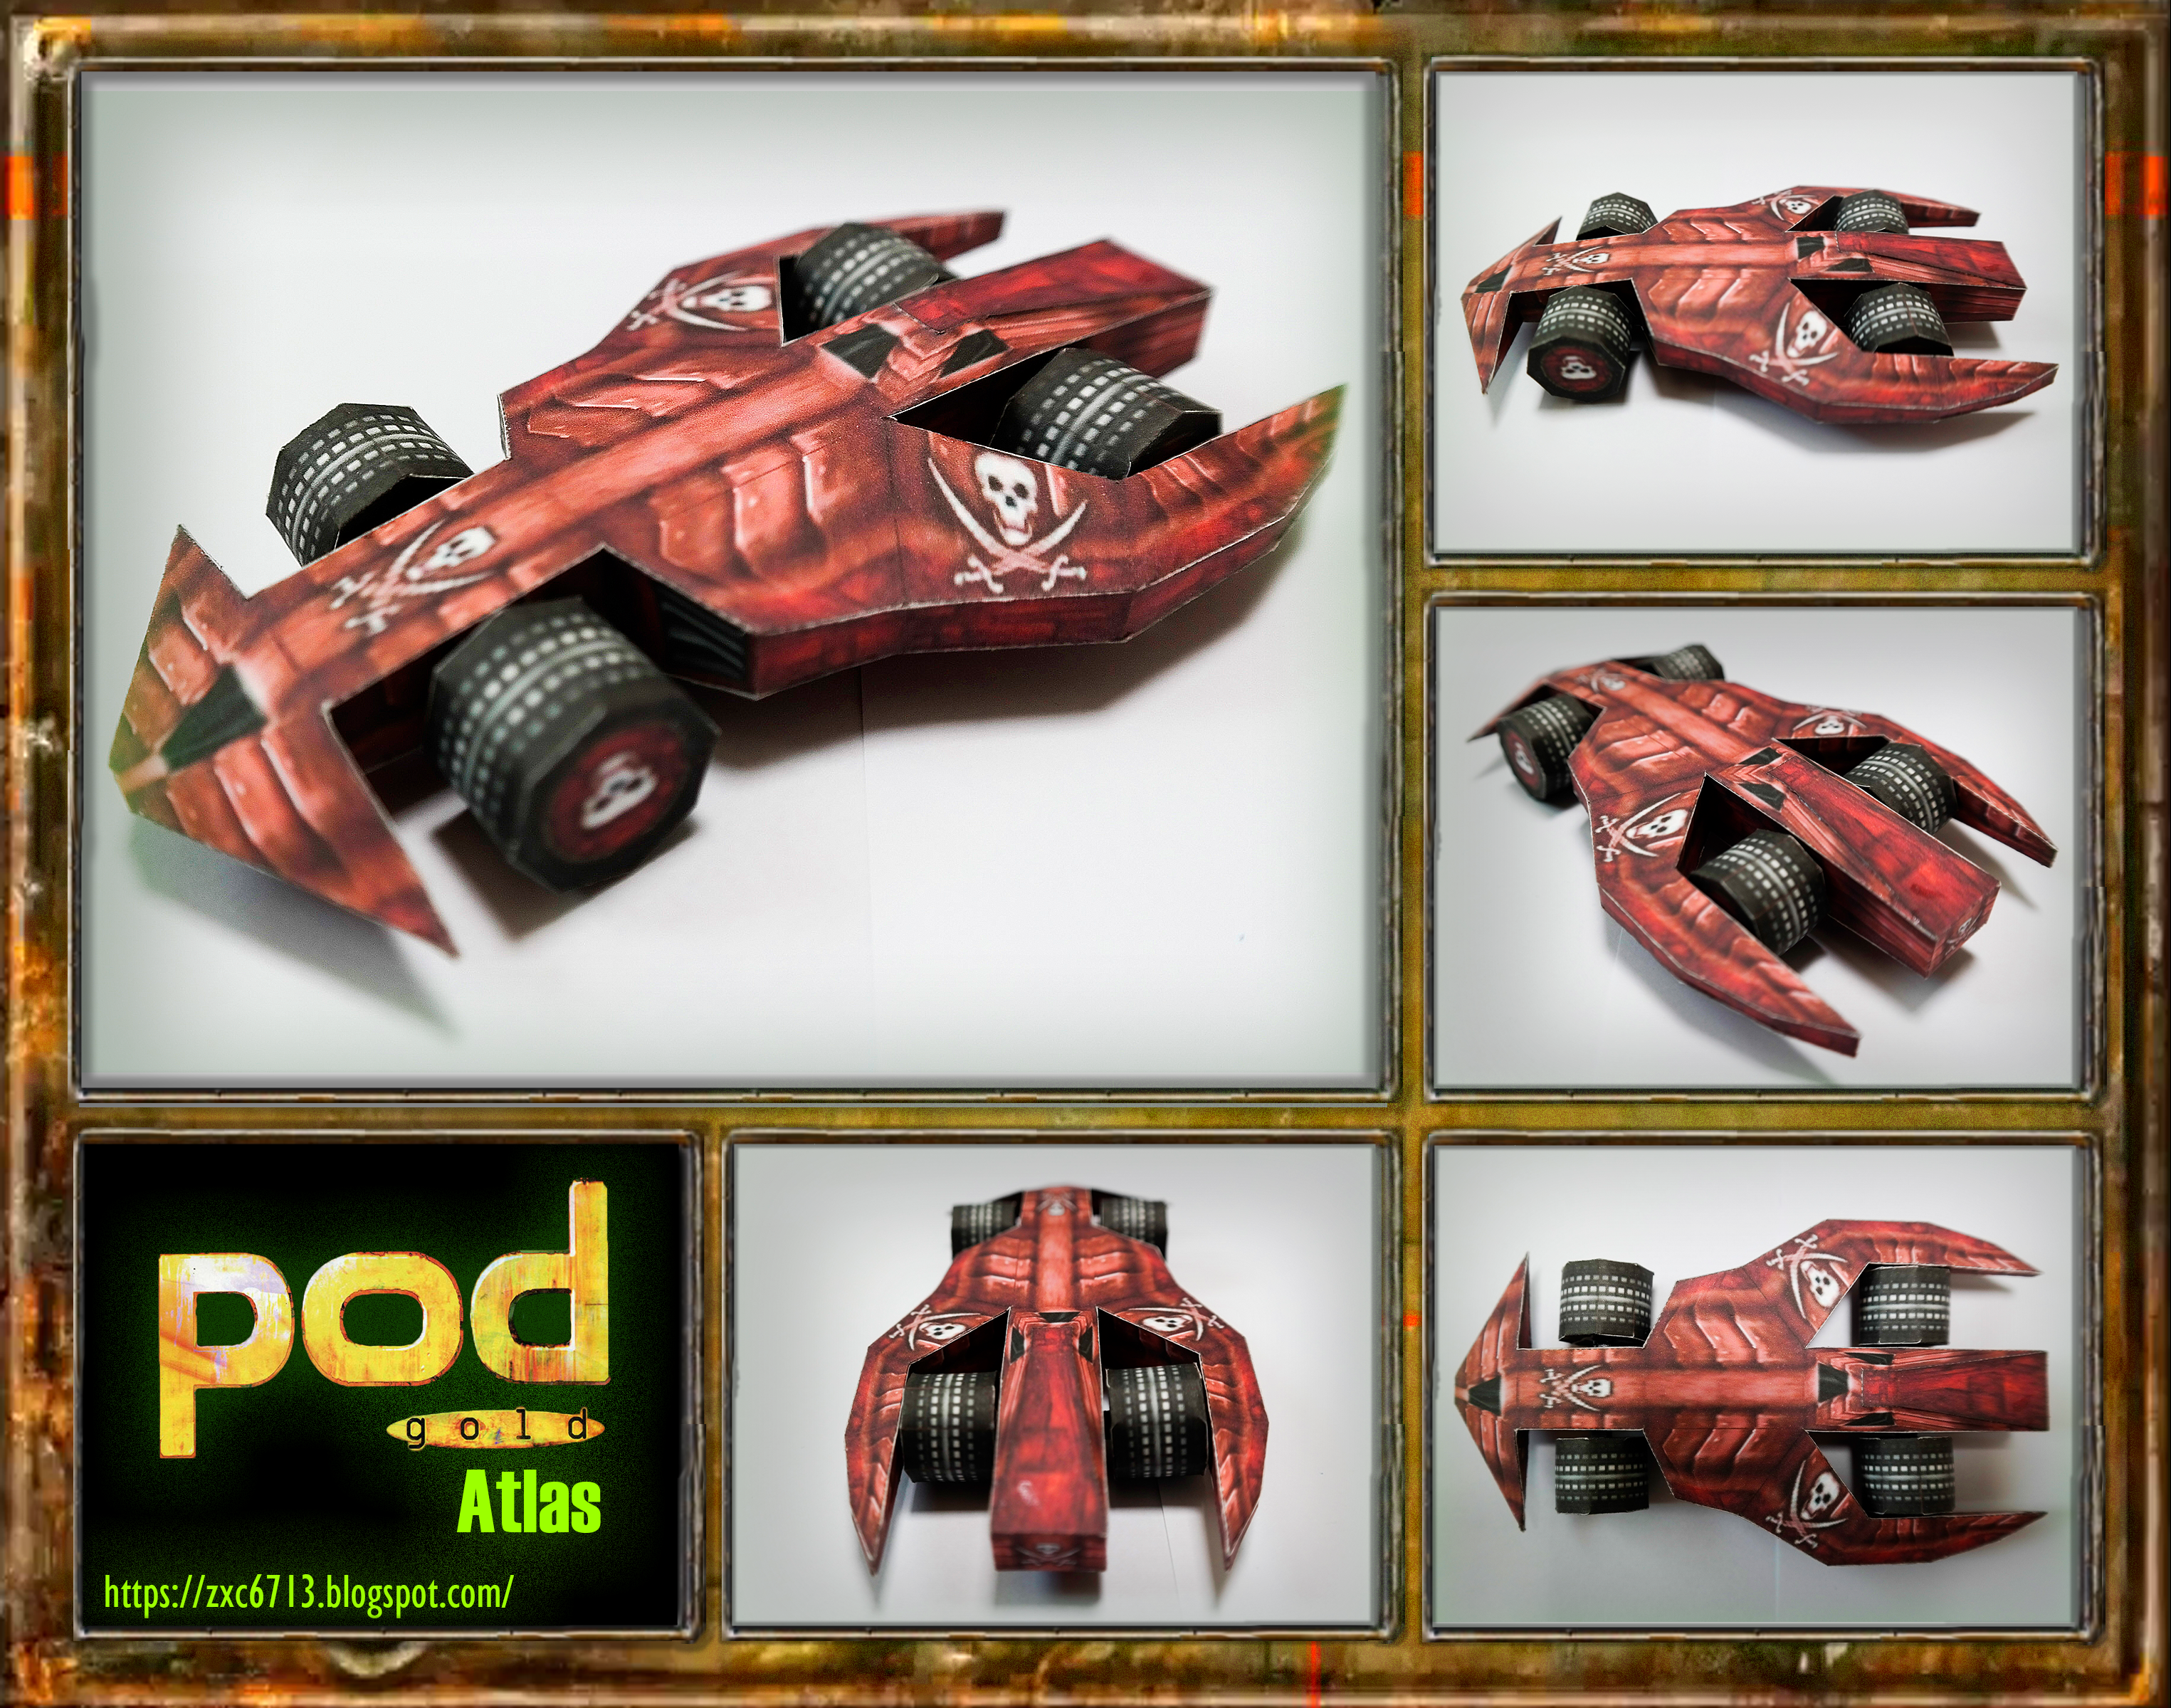
Planet of death - Saber

Original author - UbiSoft
Papercraft creator - zxc6713
Type - Retail
Difficulty - Easy
Pages - 3
Pieces - 22
Length- 167mm
Width - 78mm
Depth - 55mm
Caution - This model is made by ripping in the game. I'll delete the post if the original author wants.
There is no manual for this piece, instead it is built from a PDO file. This has many advantages over the manual because you can see the part you want in different directions on the 3D screen. The pdo file must be opened using a programme called Pepakura Viewer (which is definitely not a virus programme!).
The underside of the vehicle is the last part of the body to be built, and it's important to glue it down carefully as it can get warped out of shape during the process. A tip is to glue the largest area of the front and back glued surfaces with woodworking glue, and to glue the glued surfaces carefully one by one rather than all at once. When working on this part, I recommend using woodworking glue rather than instant glue as it allows for some modification after application.
If you look closely at the photo, you can see the part that connects the wheels to the body. Unfortunately, due to my lack of skills, I didn't show you where to glue it. So be sure to refer to the Pepakura viewer closely when gluing.
Occasionally, the bottom will be dented and the pair of wheels will be orientated inwards. If this happens, you can either stuff the inside with something like wadding, or when gluing the wheels and their supports, use the bottom of a desk or other surface as a guide, rather than the bottom of the vehicle. To prevent the parts from falling apart under the weight, you can support a small object such as a coin or die on the bottom of the piece and wait for the glue to dry. However, this can be a bit of a challenge and is not recommended.
If you have trouble seeing the dotted lines, please refer to the PDO file or the white version of the drawing!
(해당 모델은 게임에서 추출하여 만들어 졌습니다. 원작자분께서 원하신다면 포스트를 삭제하도록 하겠습니다.
해당 작품은 설명서가 없는 대신 pdo파일을 참고하여 제작합니다. 3d화면을 통해 여러 방향으로 원하는 부분을 볼 수 있기 때문에 설명서 보다 장점이 많습니다. pdo파일은 Pepakura Viewer(바이러스 프로그램 같은게 절대 아니니 안심!)라는 프로그램을 사용하여 열어야 합니다.
차량 밑바닥 부분은 몸체를 만들 때 가장 마지막 순서입니다. 이 부분을 만드는 과정에서 형태가 뒤틀릴 수 있으니, 신중히 붙이셔야 합니다. 팁을 하나 알려드리자면 앞부분과 뒷부분 풀칠면 중 가장 면적이 큰 부분을 목공풀로 붙이고, 풀칠면을 한꺼번에 붙이는게 아닌 하나하나 조심스레 붙이는 것이 포인트 입니다. 이 부분을 작업 할 때에는 순간 접착체 보다는 붙인 뒤에도 어느정도 수정이 가능한 목공용 풀을 추천드립니다.
사진을 자세히 보시면 바퀴와 몸체를 연결해주는 부품이 보일 것입니다. 유감스럽게도 제 능력 부족으로 어느 부위에 붙여야 하는지 표시하지 못했습니다.. 따라서 붙이실 때에는 반드시 Pepakura viewer를 자세히 참고하여 붙이셔야 합니다.
간혹 바닥 부분이 움푹 파여 바퀴 한 쌍의 방향이 안쪽으로 오므라 들 때가 있습니다. 이럴 때에는 내부에 솜 등의 물체를 채워 넣으시거나, 바퀴와 그 지지대를 붙일 때 차량의 바닥면이 아닌 책상등의 바닥을 기준으로 붙이셔야 합니다. 이 과정에서 무게로 인해 부품끼리 떨어지지 않도록 동전이나 주사위 등의 작은 물체를 작품의 밑바닥에 받쳐서 접착제가 마를 때 까지 기다리시면 됩니다. 다만 이것은 다소 어려운 작업일 수 있기 때문에 추천드리지 않습니다.
점선이 잘 보이지 않을 경우 pdo파일이나 화이트 버전 도면을 참고하여 주세요!)


댓글
댓글 쓰기